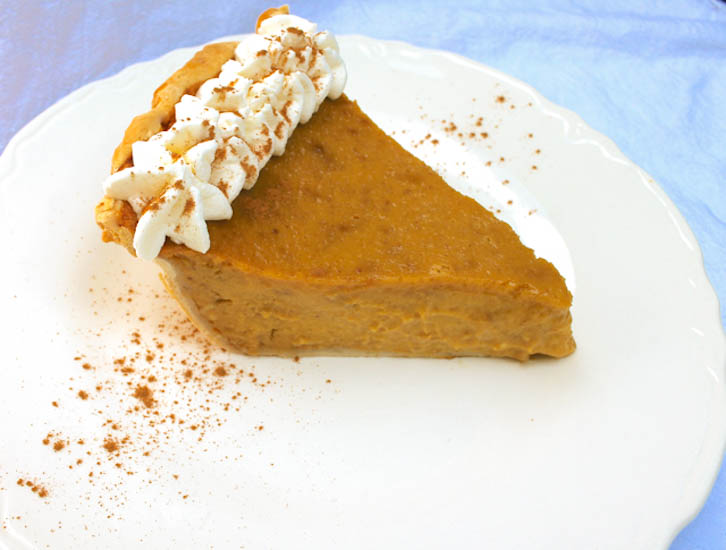
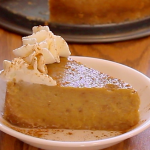
Infused with fresh ginger, ground cloves and cinnamon, a freshly baked Blue Hubbard Squash Pie will open the doors for a beautiful beginning to Autumn. Top with freshly whipped cream and delight your dessert fans with a Heavenly, creamy treat.
Traditional Autumn pies are coming into season but they’re not just apples and pumpkin. Big colorful and funky shaped squash like the Blue Hubbard make terrific decorations on your front porch but did you know they also make delightful desserts?
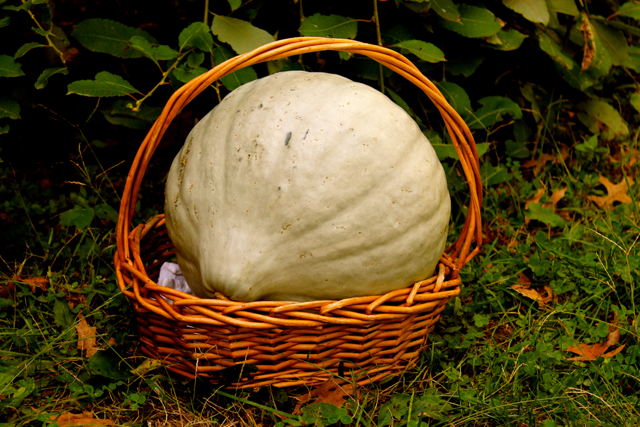
I never gave much thought to those weird looking squash you see around farmer’s markets until a recent visit to Kinman Farms. Faye, one of the friendly staff members there told me that some squash make a better pie than pumpkin. That peaked my interest, so I bought a couple of the Blue Hubbards and decided to give it a go.
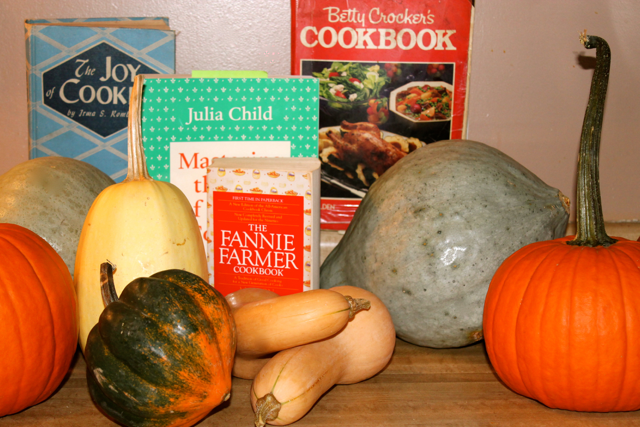
Blue hubbard squash isn’t something new but it’s also not in the main stream of dessert pie recipes. For me, the best place to turn for hard to find recipe instructions is in old cookbooks like Fannie Farmer and Betty Crocker
. The Fannie Farmer Cookbook gives a wonderful, easy to follow reference for squash pies.
According to recipes I found, you can cut just about any squash in half, scoop out the seeds and lay it flat to bake in your oven. Or, you can simply bake them whole. (See specific directions for baking a Blue Hubbard Squash in the recipe printout below) Blue Hubbard Squashes are not as easy to cut into as a pumpkin, so I would suggest that if you’re not planning on saving the seeds to bake for a snack, look for a smaller one when you’re shopping around, as most places that offer them have various sizes to choose from.
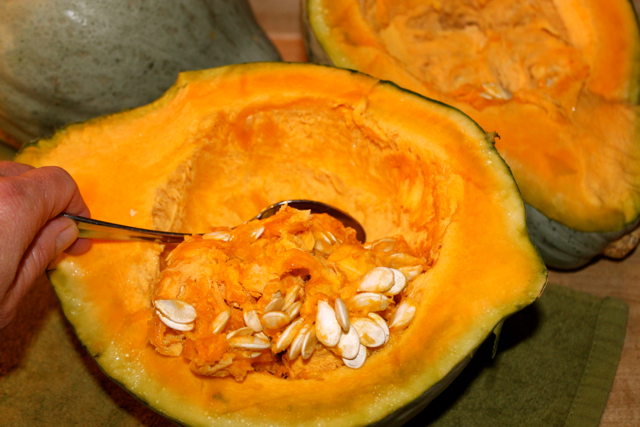
Though, I will say if you’ve got a really good, sharp knife and you’re up for the challenge, go ahead and cut your squash open. The fresh aroma that wafts out of a Blue Hubbard Squash is surprisingly pleasant and totally worth experiencing. I mean, if you could wrap the end of summer, melons and falling leaves into one scent, that might come close to describing its mesmerizing aroma.
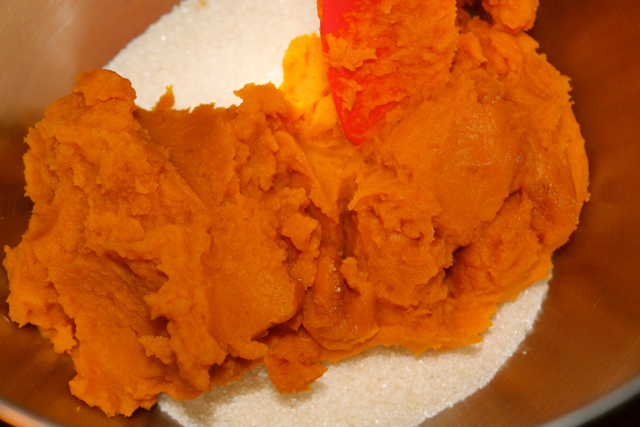
After you bake your squash and allow it to cool, the skin is very easy to peel off. You can also use a spoon to scoop the cooked squash from its shell, which ever works best for you. Either way, after you separate the “meat” from the skin/shell, you’ll need to puree it in a food processor to get it ready for your pie mixture. After you have pureed the flesh, go ahead and combine the other ingredients for your filling. As an alternative, (if you have more than you anticipated on or you want to do this as a “make-ahead” step) you can freeze the pureed squash to save for later. *See notes in printout for additional details.
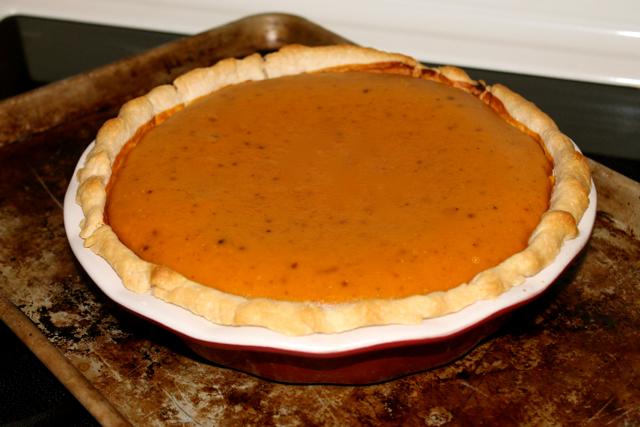
The terrific thing about using Blue Hubbard Squash in place of pumpkin for pies is the fact that it has a denser quality. That makes it less likely to give you a big ugly crack in the middle. It also makes for a smoother pie. Hence the Heavenly creaminess of each bite.
When you’re in your Autumn pie making frenzy this year, I hope you’ll give blue hubbard a try. I’m betting you and your crew will be thrilled.
Have a terrific day and as always, keep it delicious!
Till next time ~ much love, Connie
Blue Hubbard Squash Pie
Ingredients
For the Crust
- 1 3/4 cup cake flour or 1 1/2 cup bread flour
- 1/2 teaspoon salt
- 1 teaspoon baking powder
- 1/4 cup chilled lard can use shortening
- 2 tablespoon chilled butter
- 1/4 cup ice cold water
For the filling
- 4 large eggs
- 1 1/2 cup sugar
- 4 cup pureed squash can use pumpkin
- 2 12oz cans evaporated milk
- 2 teaspoon ground cinnamon
- 1 teaspoon salt
- 1 teaspoon ground ginger fresh is best!
- 1/2 teaspoon ground cloves
Instructions
For the Crust
- Sift the flour, salt and baking powder and place into a food processor.
- Add the lard and the butter.
- Pulse until the lard and butter are mixed well and form a fine texture.
- Turn the processor on low and add one tablespoon of water at a time.
- When the mixture just starts to come together and you can form a dough, stop adding the water. (you may not need to use all the water)
- Place the mixture on a cool surface and form a dough ball. Cut in half and form a round disc out of each half.
- Cover each disc with plastic and place in the refrigerator for no less than one hour. (Preferably over night)
- When ready to use, take the dough out of the refrigerator and allow to come to room temp for at least 15 minutes. Place a dough ball on a lightly floured surface and gently roll into a 10 inch round with a rolling pen.
- Wrap the dough over the rolling pen and place onto the pie pan.
- Press the dough into the pie pan and tuck the edges under, over the lip of the pan.
- Poke holes in the bottom of the crust with a fork several times.
- Crimp the edges into a uniform shape all the way around the edge of the pan.
- Repeat steps for rolling and placing the dough with the second disc of dough into another pie pan.
- Place pie pans with dough in refrigerator until ready to assemble the pies.
Bake the squash
Preheat oven to 375 degrees F.
- Cut the squash in half and remove the seeds and stringy fibers.
- Place the halves on a baking sheet, cut side up and bake until tender. (a knife should easily glide through the flesh)
- Baking times will vary according to the size of your squash. (can be between an hour and two hours)
- Allow the squash to cool. Peel the skin off and discard. Cut the squash into chunks.
- Place the squash in a food processor and pulse until smooth.
- It may be necessary to strain excess liquid off after you puree the squash. (A fine mesh strainer will work for this)
Preheat oven, prepare the pie filling and assemble
- Turn oven temperature up to 450 degrees F. and remove pie pans with dough from the refrigerator.
- In a large bowl, mix together all of the filling ingredients.
- Pour half of the mixture into each pie crust.
- Place the pies on a rack in the middle of the oven and bake for 15 minutes.
- Turn the heat down to 325 degrees F. and bake an additional 30 minutes.
- Test doneness by poking a toothpick or knife into the pie about an inch from the crust edge. It should come out clean. If not, bake 2 to 3 minutes more until the toothpick comes out clean.
- Cool pies completely.
- Slice and serve with fresh whipped cream.
Notes
Pin It:


Leave a Reply